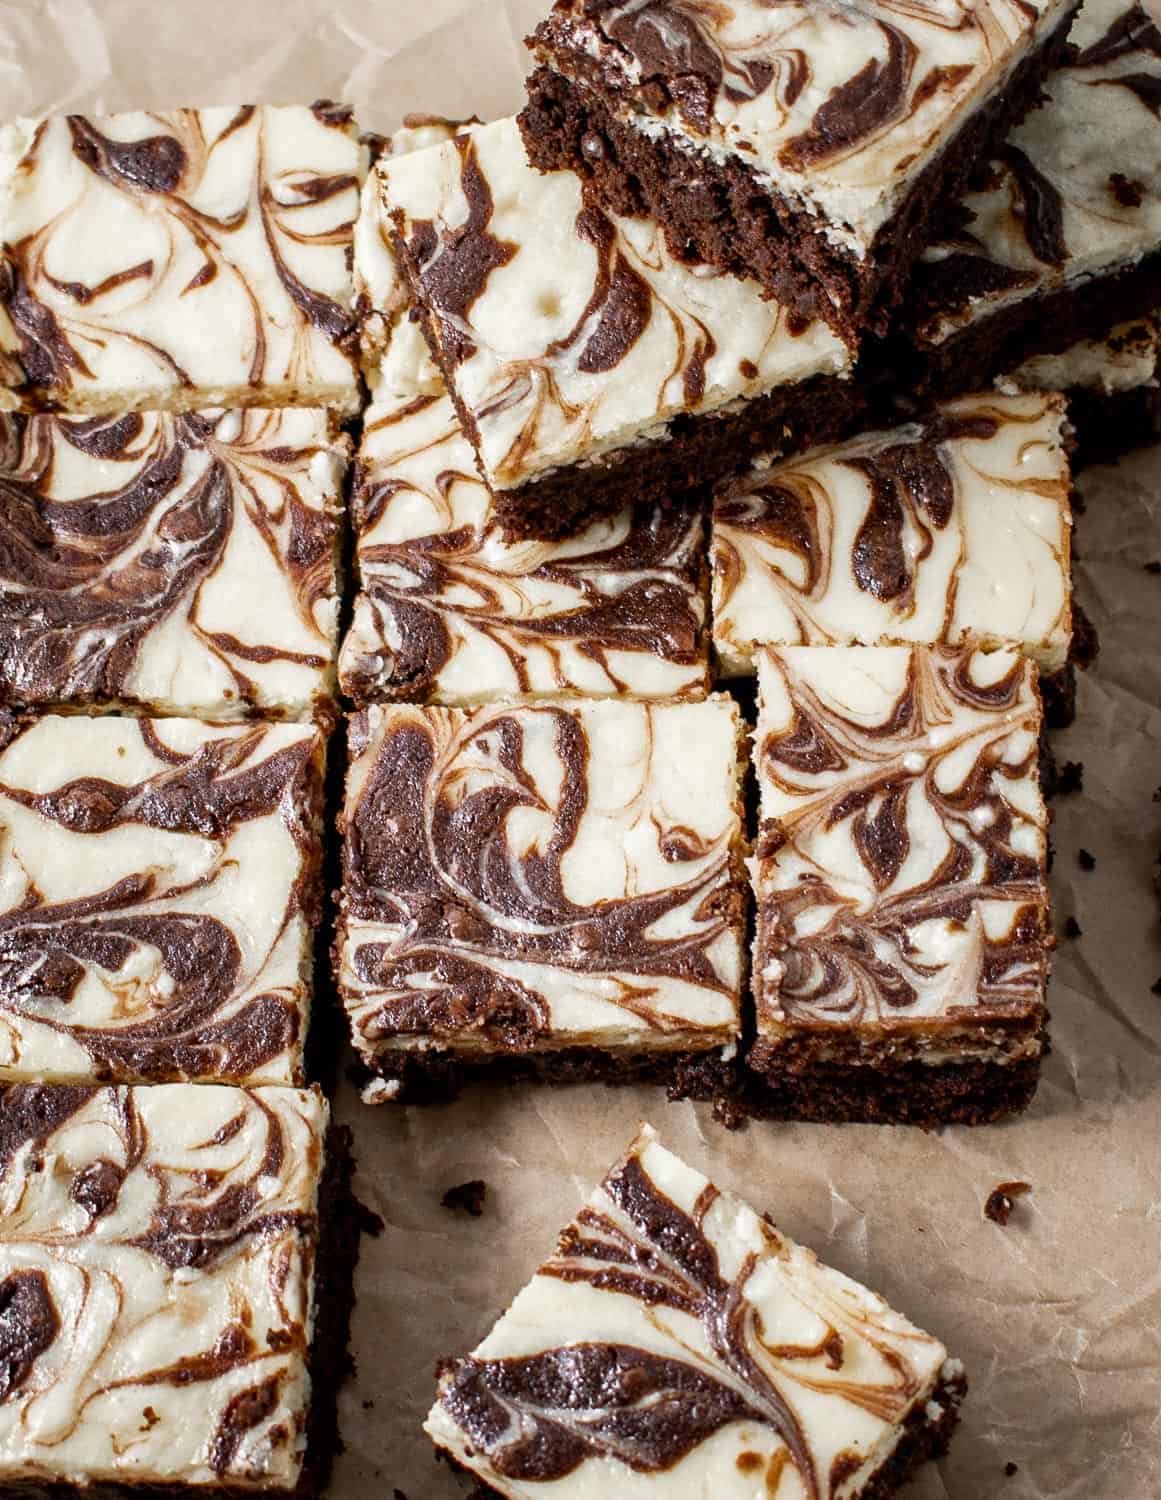
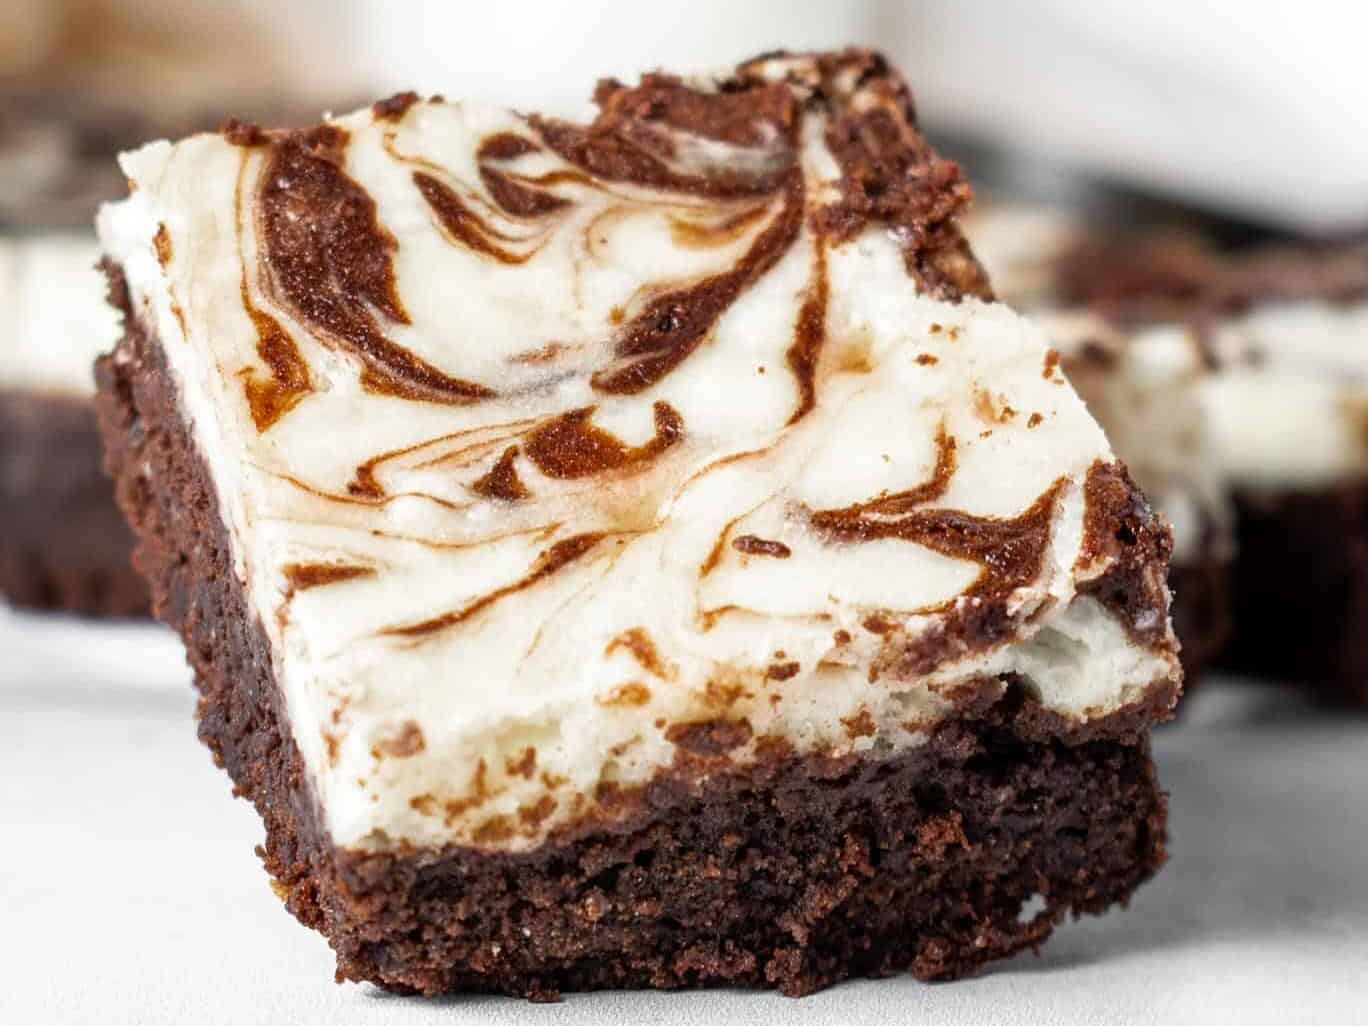
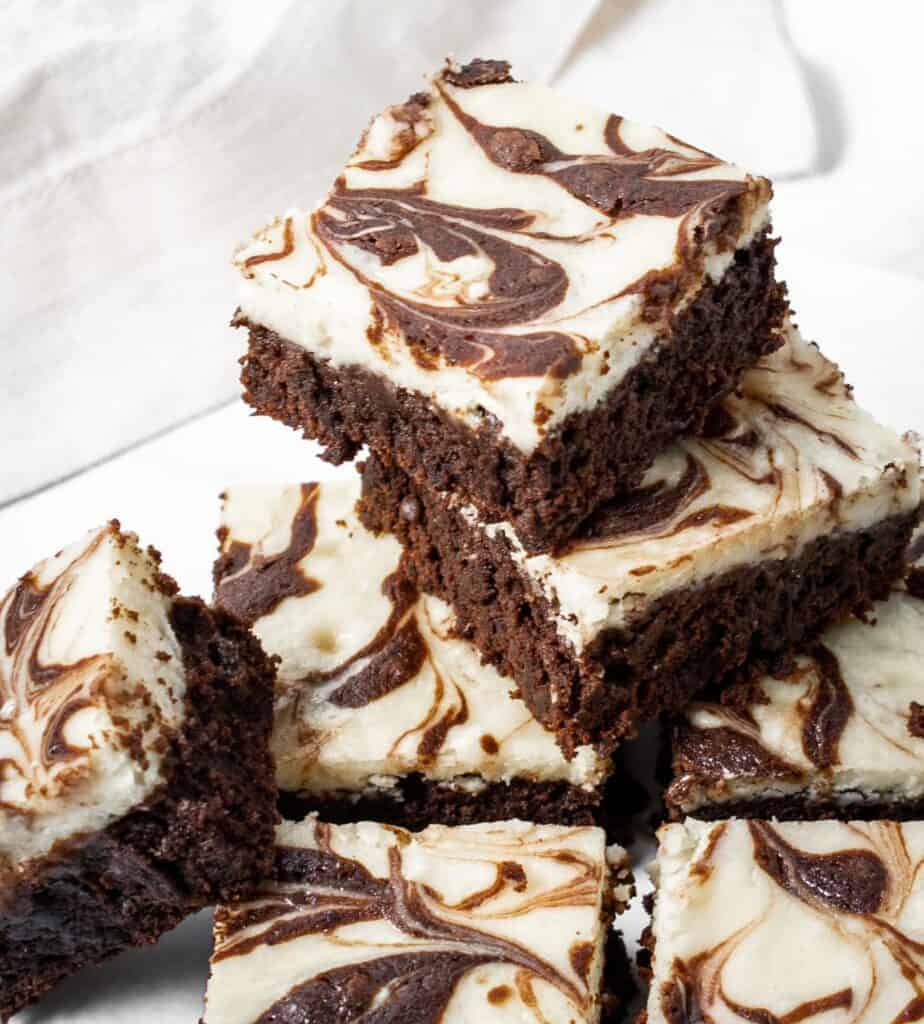
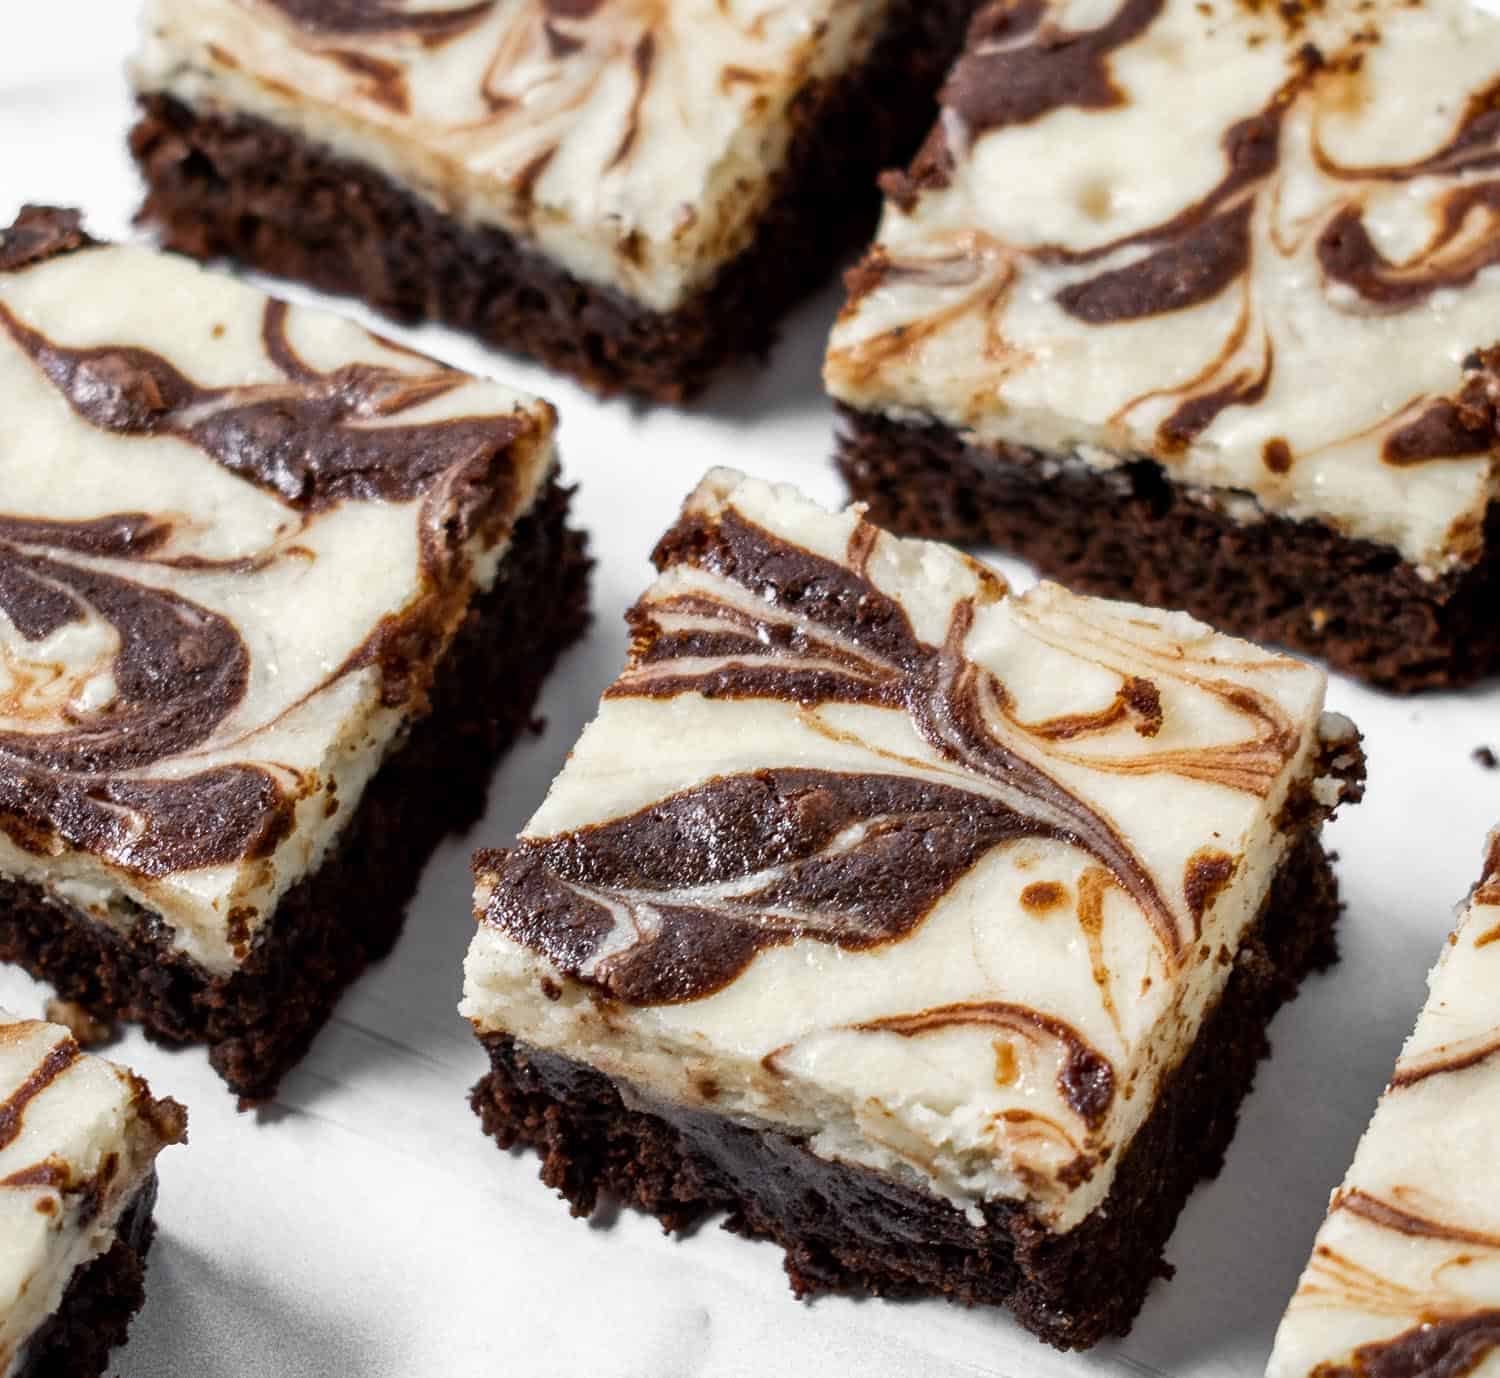
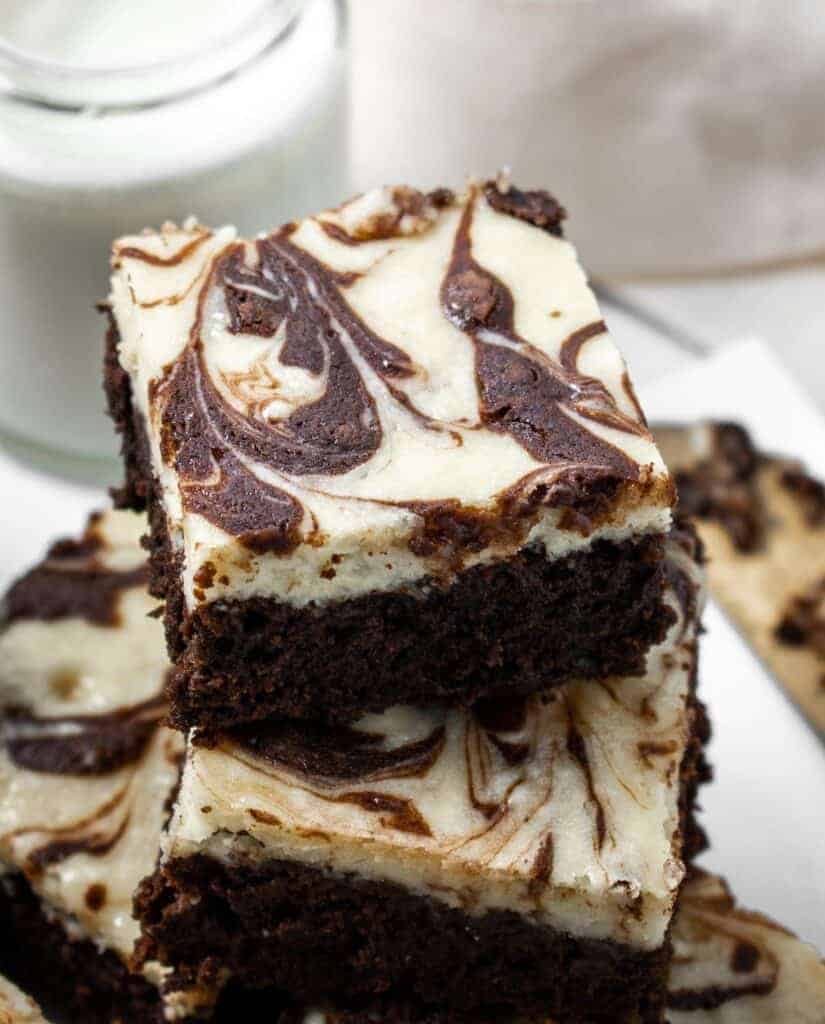
These gluten-free cheesecake brownies are made with a rich and fudge-y chocolate brownie base and a tangy, sweet cream cheese layer swirled with more chocolate brownie batter. This brownie recipe is so decadent, I promise no one will be able to tell they are gluten-free!
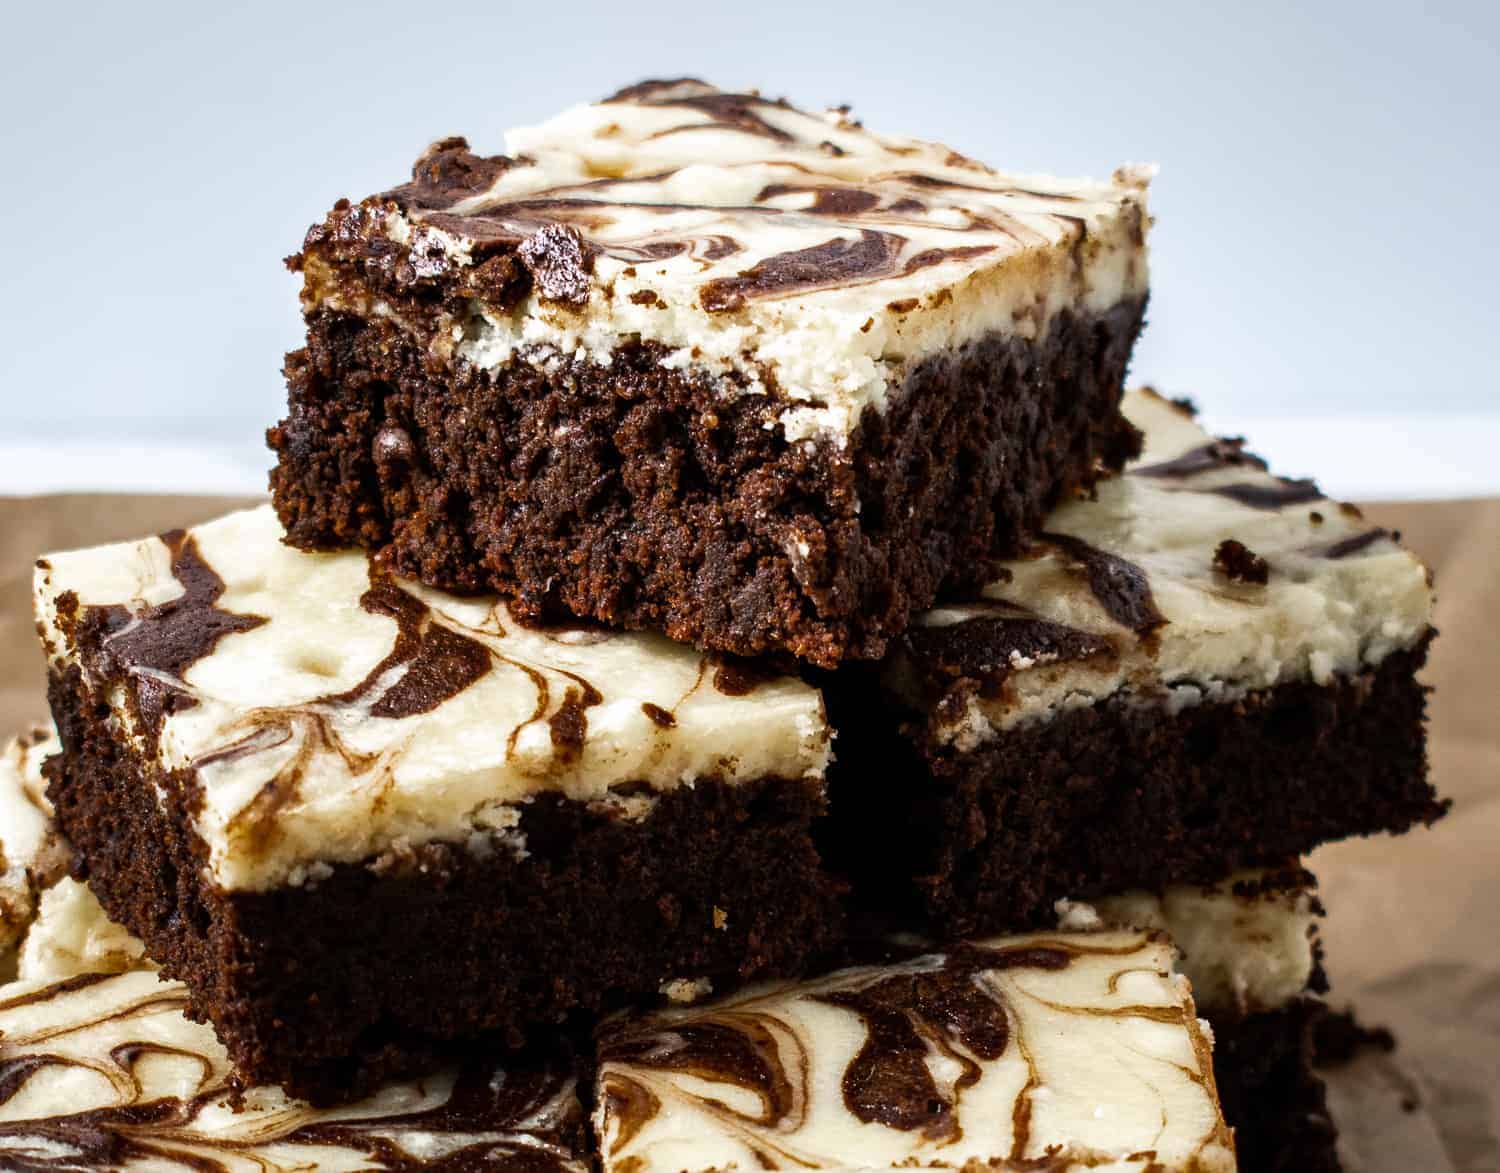
Put down that box of gluten-free brownie mix. Put it down and back away slowly. Don’t make eye contact or any sudden moves. Just get away from that dry, not-in-a-good-way crumbly brownie mix that will yield tasteless, shapeless blobs.
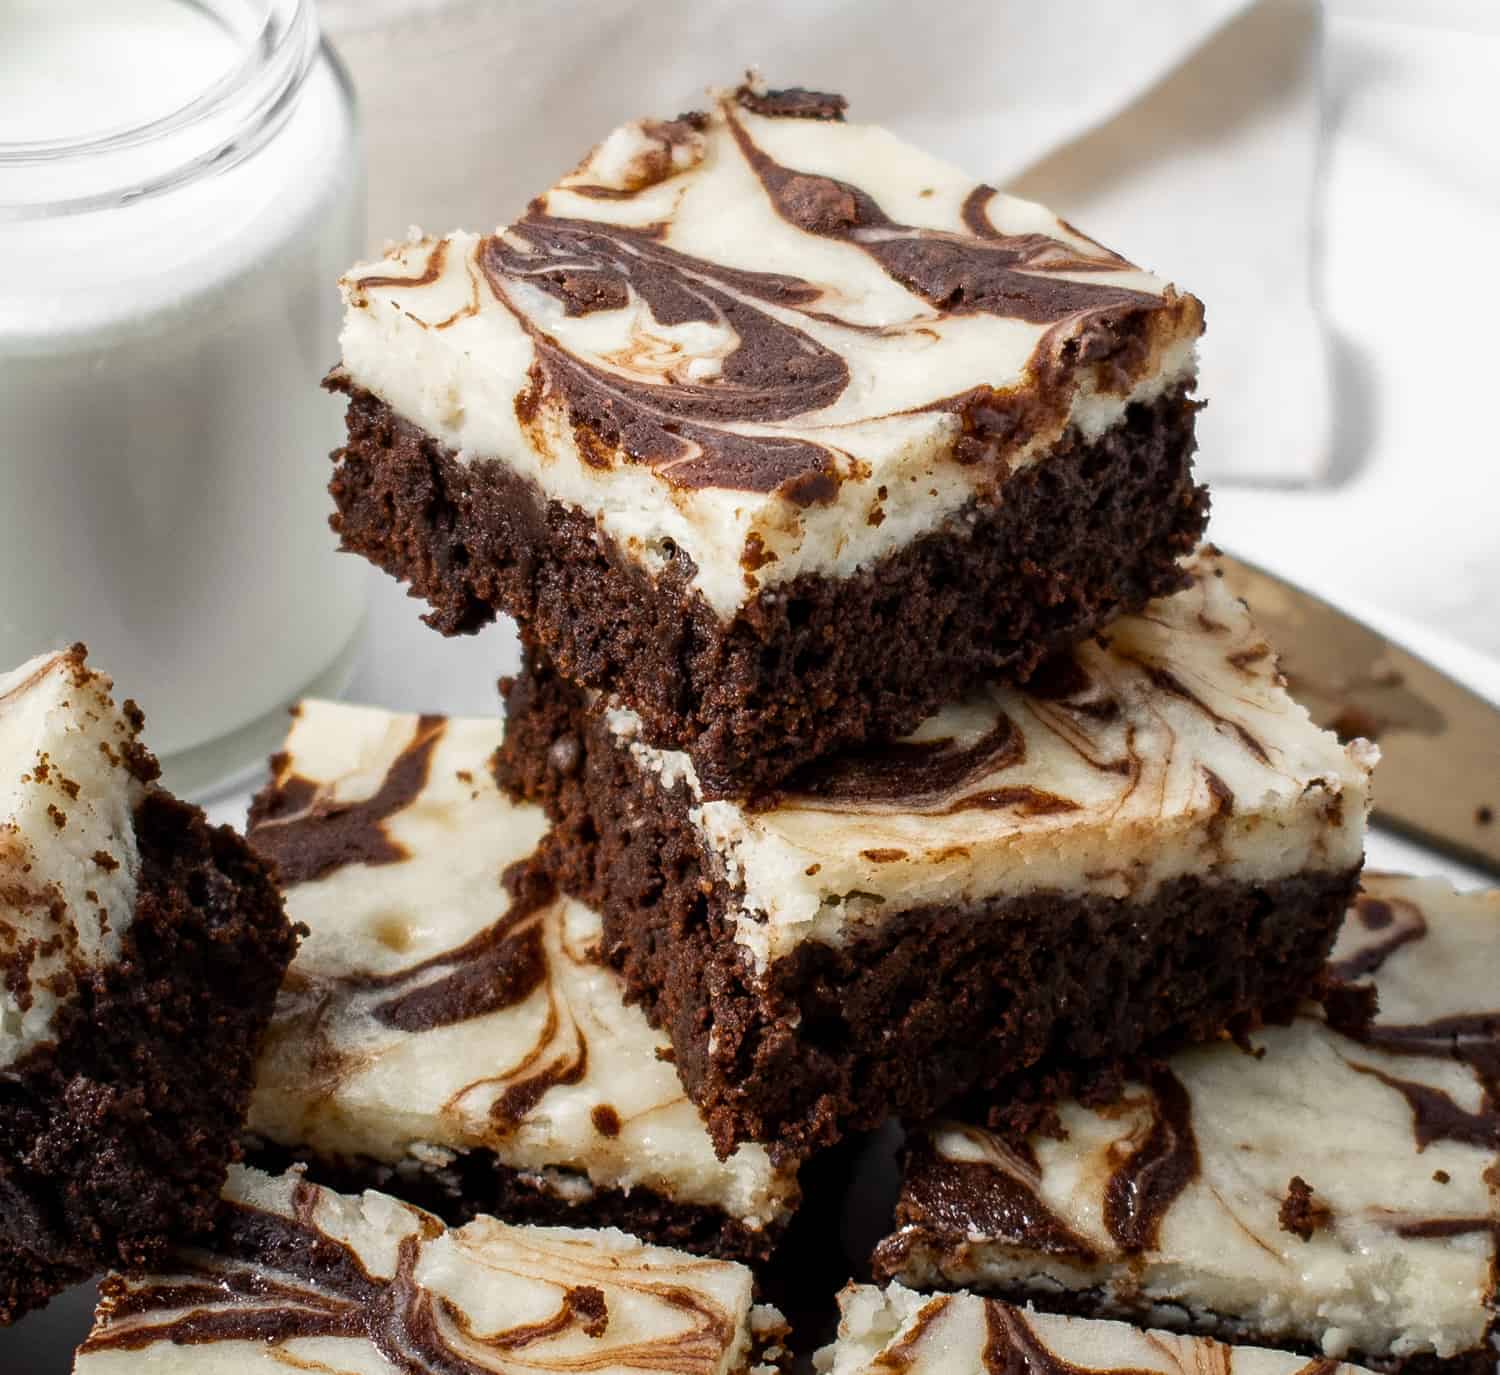
Because I have the best, the ultimate, the only homemade gluten-free brownie recipe you’ll ever need. A dense, fudgy, moist layer of chocolate brownie topped with a thick, creamy, tangy cheesecake filling. I promise, you’ll never be able to tell these cheesecake brownies are gluten-free.
I make these brownies whenever I’m craving a comforting, homemade dessert. But be warned – these brownies are rich! Decadent, delicious, rich brownies that are also gluten-free? Yes, it’s possible and this recipe for cheesecake brownies has accomplished it!
Craving even more gluten-free dessert recipes? You might also enjoy these:
Gluten-Free White Chocolate Macadamia Nut Biscotti
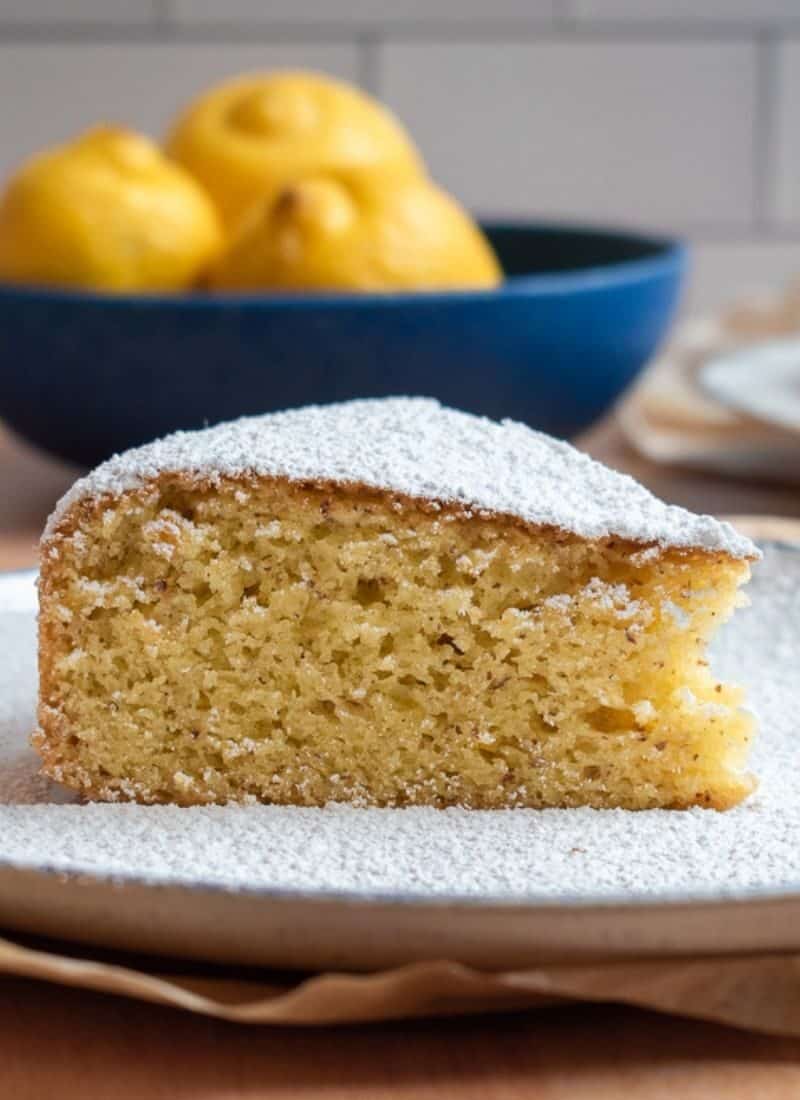
Gluten-Free Lemon Olive Oil Cake
Gluten-Free Dark Chocolate Cranberry Cookies
(Disclosure: This post may contain affiliate links which means I may earn a small commission if you make a purchase from a link in this post, at no additional cost to you. Additionally, as an Amazon Associate I earn from qualifying purchases. Thank you for supporting this site!)
How To Make Gluten-Free Cheesecake Brownies From Scratch
It’s not as hard as you might think, I promise! In fact, this cheesecake brownie recipe is so easy, it only takes about an hour including baking time. To make these gluten-free brownies from scratch, you’ll need two large bowls and a hand mixer or mixing stand.
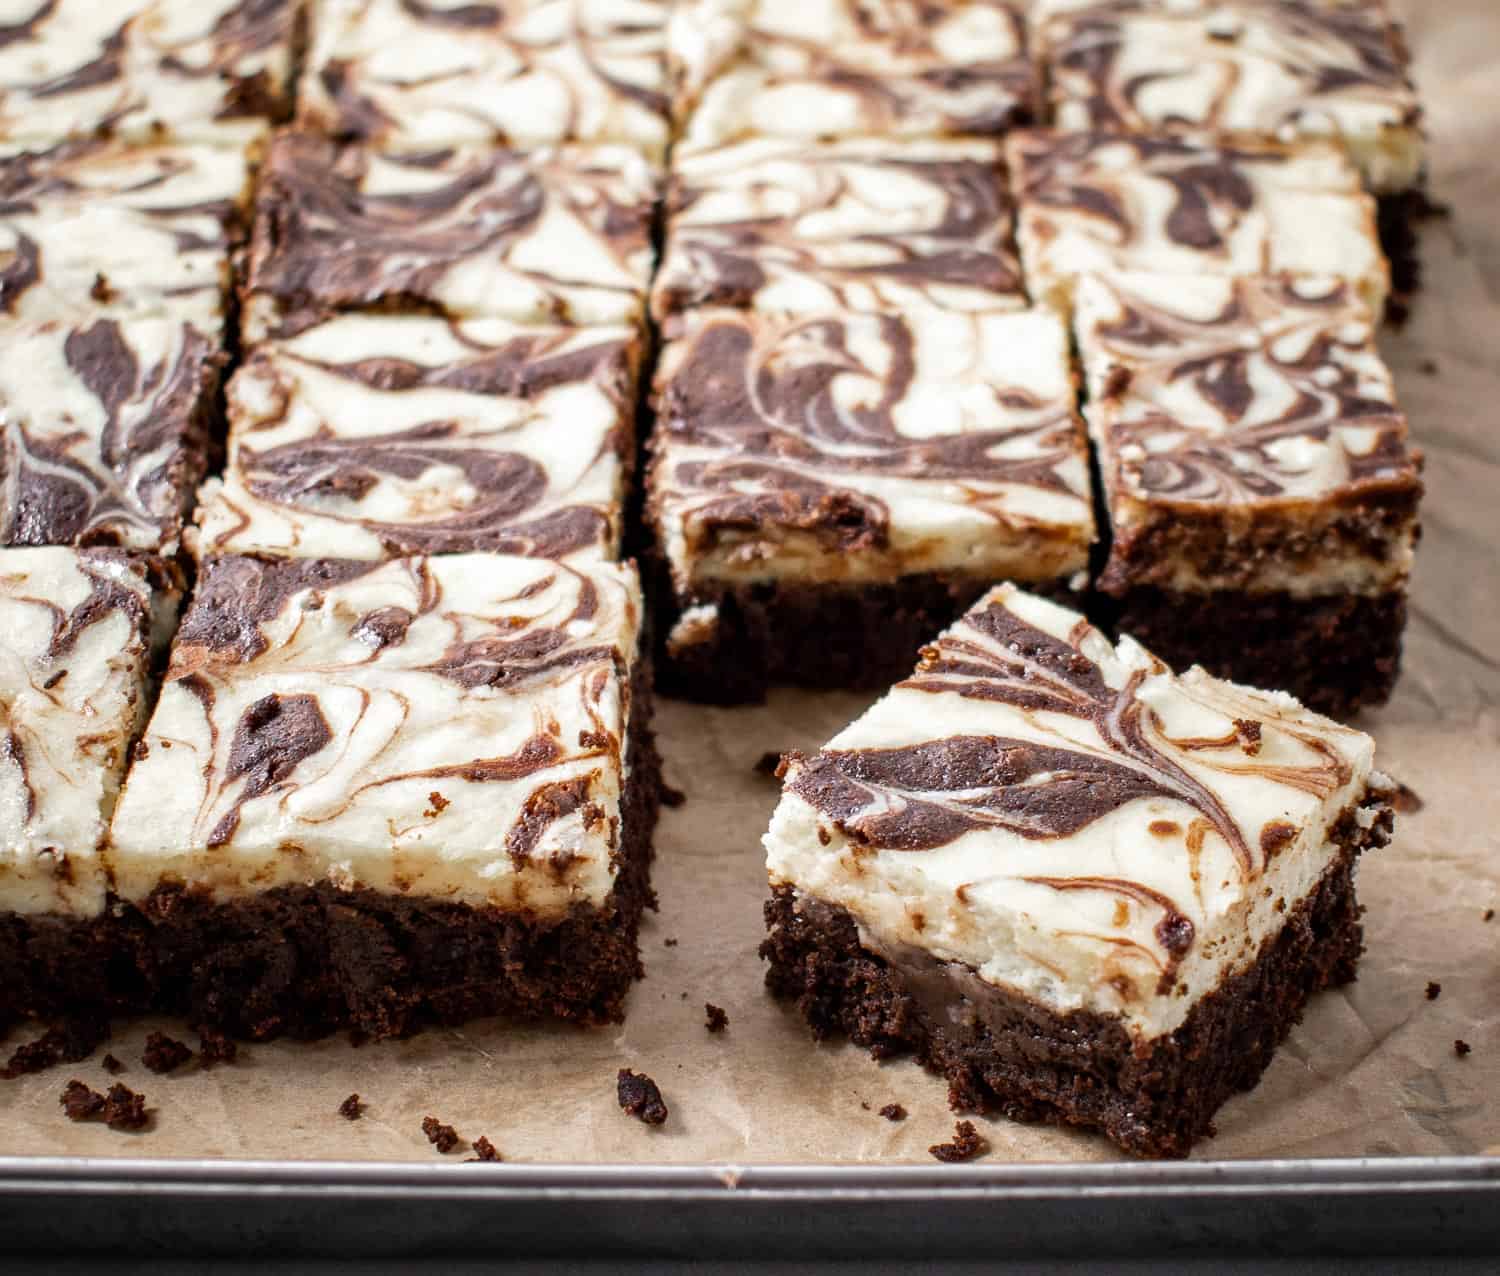
Start by preheating your oven to 350.
The first step is to make the cheesecake filling by combining the cream cheese, sugar and eggs and creaming until smooth. In a separate bowl, mix dry ingredients including gluten-free flour (I like Bob’s Red Mill 1-to-1 Gluten-Free Flour or Cup4Cup), cocoa and sugar.
Line a baking pan with parchment paper or grease the pan, and pour the brownie batter into the pan, leaving a little bit extra to dollop on top. Pour the cream cheese filling over the brownie batter and smooth out so the filling completely covers the brownie batter.
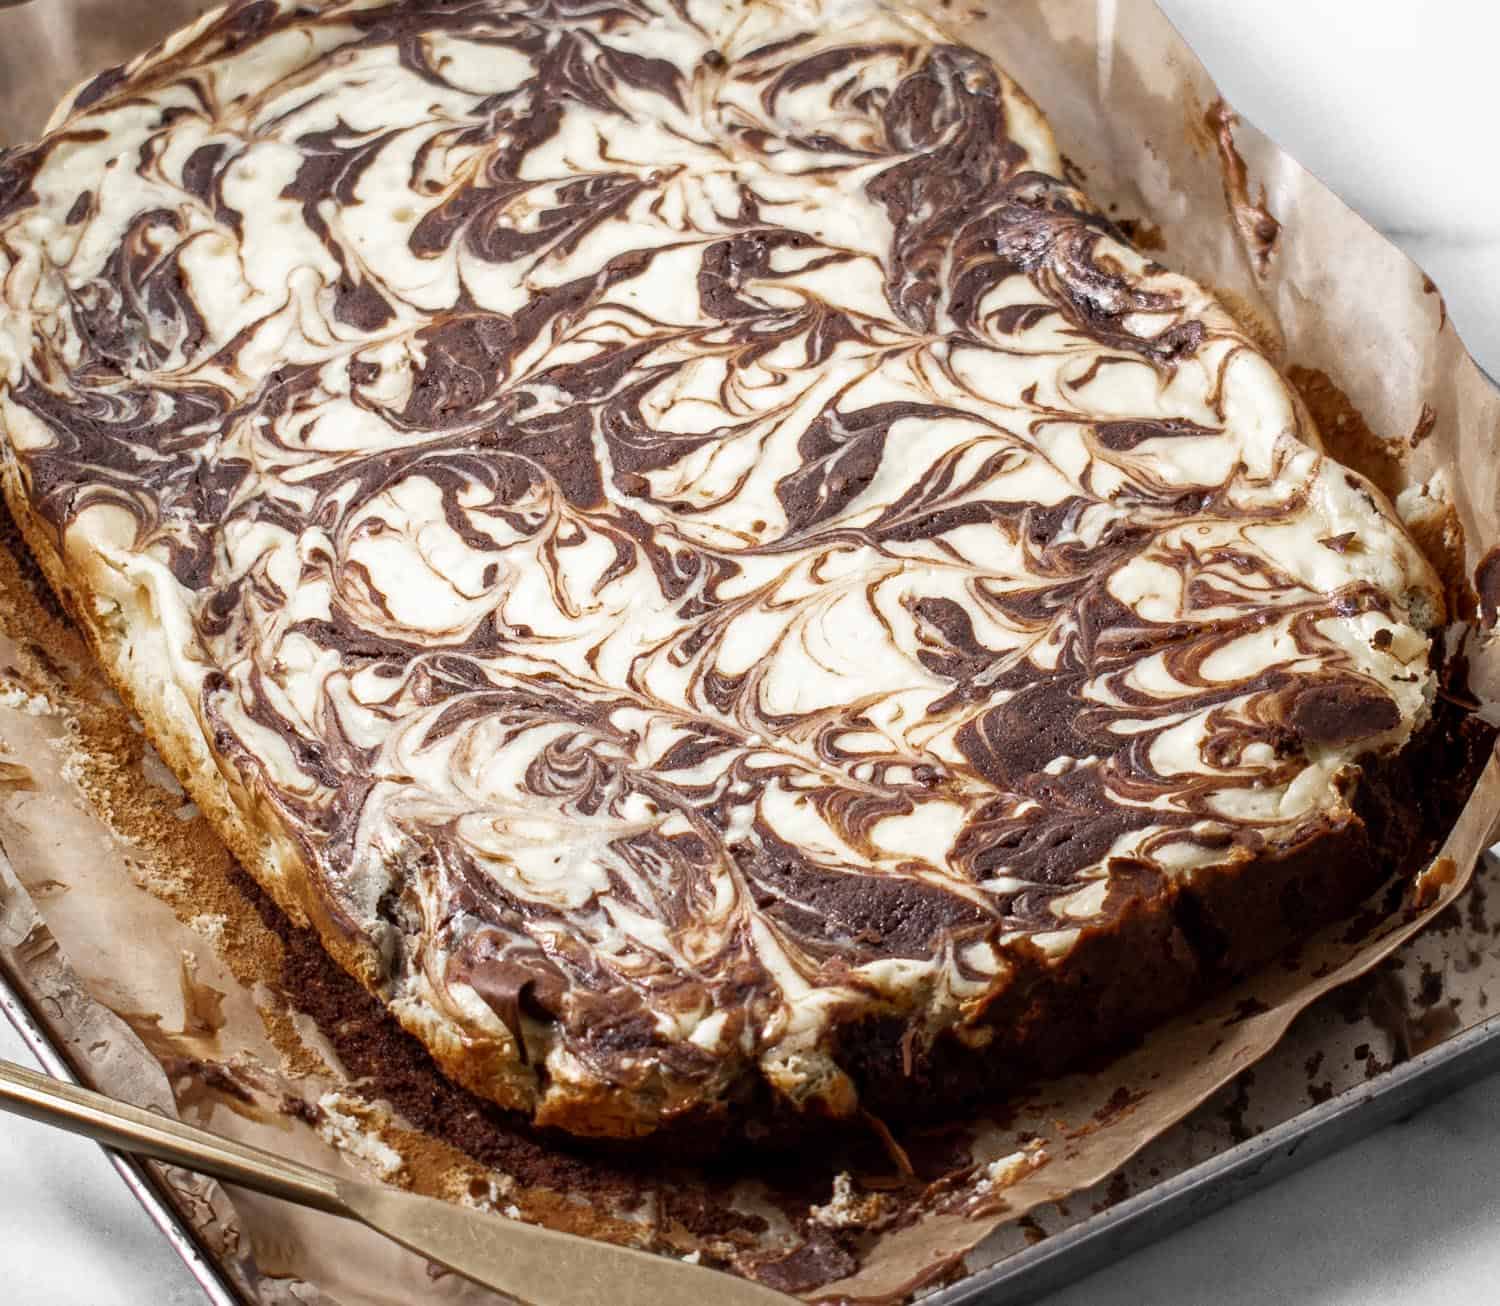
Mix the extra brownie batter with the tiniest bit of water to thin it out a bit, and use a spoon to dollop the batter on top of the cream cheese filling. Use a fork or toothpick to swirl the brownie dollops into the cream cheese filling to make a pattern.
How Can I Make Gluten-Free Brownies Taste Better?
Make these brownies, of course! I think the key to making gluten-free brownies – and all gluten-free desserts actually – taste better is to start with the best gluten-free flour for the recipe. I recommend using a 1-to-1 all-purpose gluten-free baking flour such as Bob’s Red Mill 1-to-1 Gluten-Free Flour or Cup4Cup flour.
This recipe won’t work as well with almond flour, coconut flour or rice flour. The brownies will probably still taste great (how could they not with all that cocoa, sugar and butter?) but won’t be as fudgy and moist.
Tips For Making Homemade Gluten-Free Cheesecake Brownies
- Optional mix-ins: These brownies taste great with the addition of chopped nuts! I recommend using walnuts or macadamia nuts. You could also mix in extra chocolate chips into the cream cheese filling.
- Add a raspberry swirl: instead of adding dollops of brownie batter on top of the cream cheese filling, you could make a quick raspberry coulis or use your favorite berry jam to dollop on top and swirl to turn this recipe into a raspberry cheesecake brownie.
- Less cheesecake: I like a thicker cream cheese layer in these brownies, but if you prefer a more subtle cheesecake flavor, cut the filling recipe in half. Then, pour half the brownie batter in the bottom of the pan, then add the cream cheese filling and pour the remaining batter all over the cream cheese filling. You’ll end up with a thin ribbon of cream cheese running through the middle of the brownies.
- No cheesecake: If you don’t like cream cheese or cheesecake, you can 100% make these brownies with just the batter and skip the cream cheese filling altogether for an extra-chocolately, dense and fudgy plain brownie.
- Keep them cold: Keep them in the fridge or freezer! These brownies are so moist and fudgy that I like eating them cold. They’ll keep frozen for up to four months or in the fridge for up to two weeks (they’ll never last that long, trust me!).
Can I Make These Gluten-Free Brownies With Regular Flour?
Yes! You don’t have to be gluten-free to make this recipe! In fact, I made these brownies all the time with regular flour before I found out about my gluten intolerance. Just swap the gluten-free flour for your favorite regular all-purpose baking flour.
Gluten-Free Cheesecake Brownies Recipe Ingredients
For the Cream Cheese Filling:
- 2 8oz. packages of cream cheese (Tip: use full-fat brick-style cream cheese for the best flavor)
- 2/3 cup white sugar
- 2 eggs
- Optional: chocolate chips
For the Brownie Batter:
- 1 cup butter (2 sticks)
- 2 cups white sugar
- 4 eggs
- 1/4 tsp salt
- 1 cup cocoa
- 1 cup all-purpose gluten-free flour (or regular flour)
- Optional: chopped walnuts
Cheesecake Brownies Recipe Instructions
- Preheat the oven to 350F.
- Make the cream cheese filling:
- In a large bowl, blend cream cheese, sugar and eggs until smooth.
- Make the brownie batter:
- In a separate large bowl, blend butter, sugar, eggs, and salt using an electric mixer.
- Add cocoa and nuts, if using, and stir in by hand until blended.
- Add flour and mix until combined and a batter forms.
- Pour the brownie batter into a baking pan greased or lined with parchment paper. Leave a little extra brownie batter to dollop on top of the cream cheese filling.
- Pour the cream cheese filling over the brownie batter and smooth out so the batter is completely covered.
- Thin the extra brownie batter with a tiny bit of water and use a spoon to dollop over the cheesecake filling. Use a fork or toothpick to swirl the batter into the cheesecake layer.
- Bake for 35-40 minutes at 350F, until batter is set and a toothpick comes out clean from the middle of the pan.
Cool and store in an airtight container for up to two weeks. These brownies keep well at room temperature, in the fridge or in the freezer.
Shop My Baking Essentials
Easy Homemade Gluten-Free Cheesecake Brownies
- Total Time: 45 minutes
- Yield: 24 brownies 1x
- Diet: Gluten Free
Description
These gluten-free cheesecake brownies are made with a rich and fudgy chocolate brownie base and a tangy, sweet cream cheese layer swirled with more chocolate brownie batter. This brownie recipe is so decadent, I promise no one will be able to tell they are gluten-free!
Ingredients
For the Cream Cheese Filling:
- 2 8oz. packages of cream cheese (Tip: use full-fat brick-style cream cheese for the best flavor)
- 2/3 cup white sugar
- 2 eggs
- Optional: chocolate chips
For the Brownie Batter:
- 1 cup butter (2 sticks)
- 2 cups white sugar
- 4 eggs
- 1/4 tsp salt
- 1 cup cocoa
- 1 cup all-purpose gluten-free flour (or regular flour)
- Optional: chopped walnuts
Instructions
- Preheat the oven to 350F.
Make the cream cheese filling:
- In a large bowl, blend cream cheese, sugar and eggs until smooth.
Make the brownie batter:
- In a separate large bowl, blend butter, sugar, eggs, and salt using an electric mixer.
- Add cocoa and nuts, if using, and stir in by hand until blended.
- Add flour and mix until combined and a batter forms.
- Pour the brownie batter into a baking pan greased or lined with parchment paper. Leave a little extra brownie batter to dollop on top of the cream cheese filling.
- Pour the cream cheese filling over the brownie batter and smooth out so the batter is completely covered.
- Thin the extra brownie batter with a tiny bit of water and use a spoon to dollop over the cheesecake filling. Use a fork or toothpick to swirl the batter into the cheesecake layer.
- Bake for 35-40 minutes at 350F, until batter is set and a toothpick comes out clean from the middle of the pan.
- Cool and store in an airtight container for up to two weeks. These brownies keep well at room temperature, in the fridge or in the freezer.
- Prep Time: 10 mins
- Cook Time: 35 mins
- Category: Desserts
- Method: Homemade
That’s it! I hope you enjoy this recipe as much as I do! Please let me know in the comments if you try it!

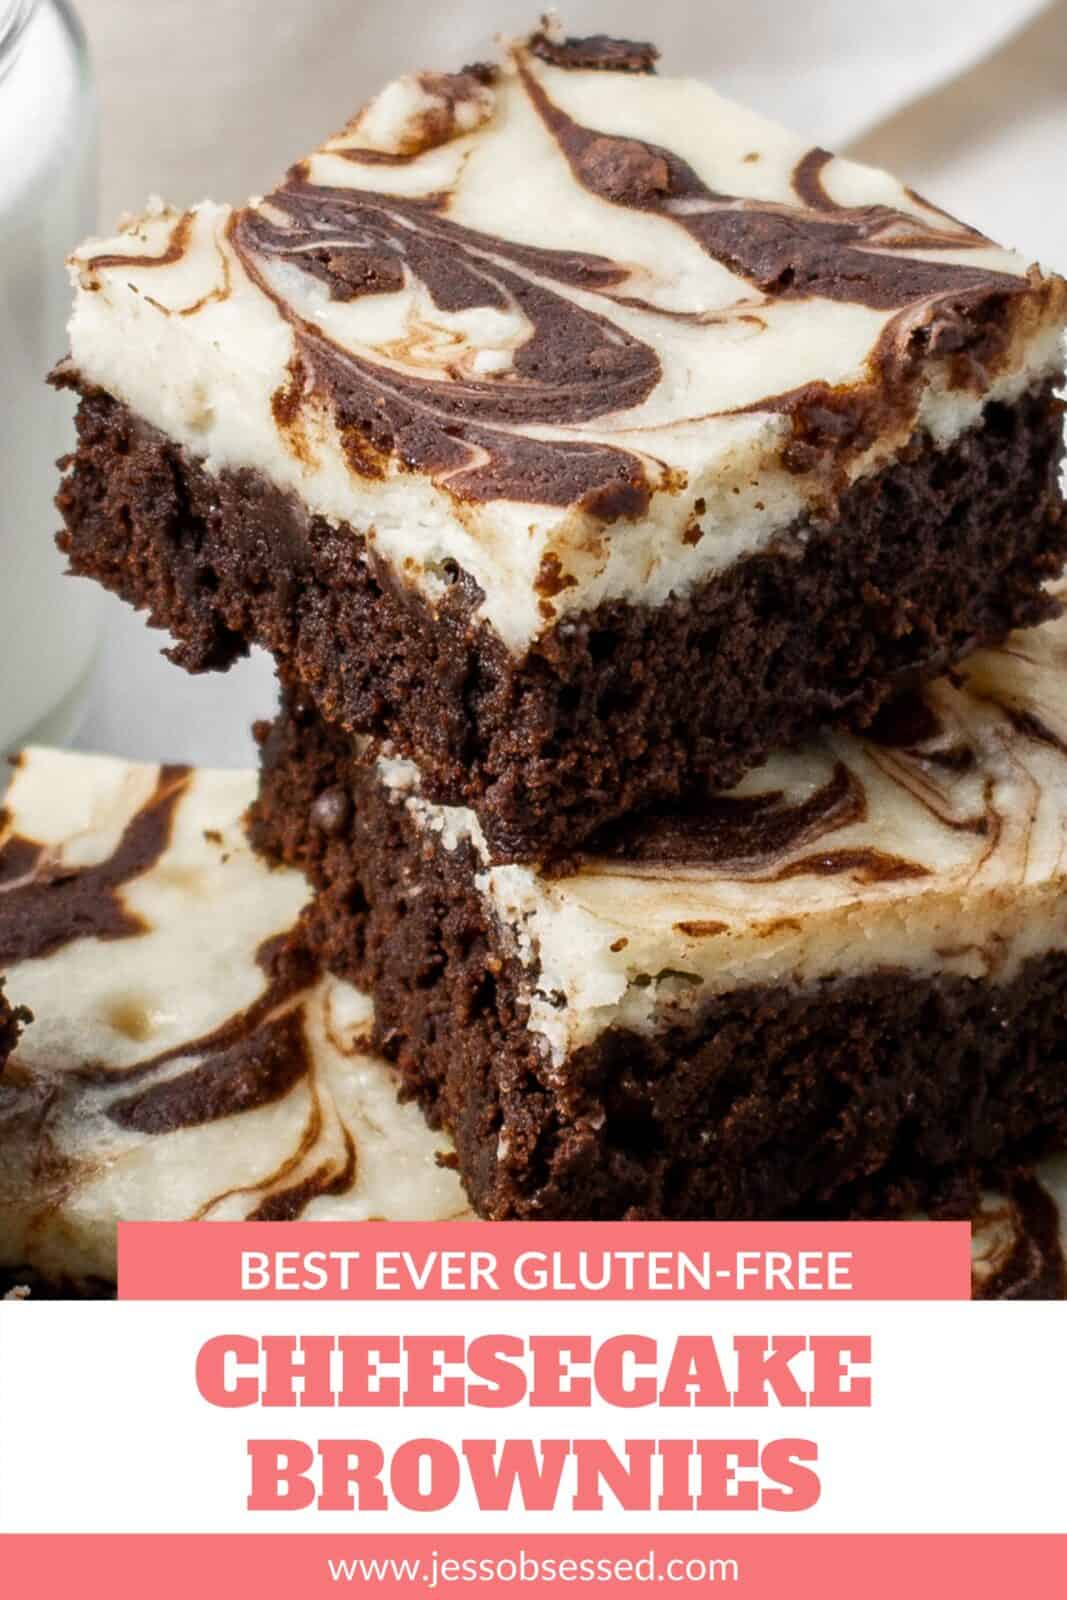
Love this gluten-free cheesecake brownie recipe? Pin It to save for later!




Hi I haven’t made them yet, but what size baking pan should I use?
Hi Denise! I have used various sizes from 8×8, 9×9 or 9×13. The 8×8 will yield brownies with the most height, and the 9×13 will just have a thinner brownie but whatever you have available will work! Please do let me know if you make the recipe and what you think, I love to hear from readers! xxx
I made this recipe as is, except I did add walnuts and chocolate chips to the brownie batter. I used Cup4Cup flour. I made it in an 8×8 glass pan. The brownie was REALLY dense and the cheesecake came out browned around the edges and raw in the middle even after baking for an hour. It was also very difficult to get out of the greased pan. The edges I tried did taste great, although so rich one couldn’t eat a full piece.
I am trying it again today, without nuts & chocolate chips, and in a 9×13 pan, with parchment paper so I can lift it out like your pictures show. Going for thinner layers and hoping it bakes more evenly. Fingers crossed!
Hi there! These are definitely a super-fudgey brownie so I understand why the addition of chocolate chips and walnuts was a little too rich. If you find the cheesecake filling too dense or not cooking through enough, try cutting the cheesecake filling recipe portion in half. I like a thick layer of cheesecake on my brownies but you may find you prefer the thinner layer cutting the filling in half will provide. I also think skipping the cheesecake layer and just making the brownie base with walnuts and choc chips could also be delicious! Let me know how the next attempt goes! xxx
I made them but did not add nuts or chocolate chips. They were delicious! Making them again for Christmas.
Cathy
I’m so glad they turned out well!!
will they freeze well?
Yes, these will freeze very well in an airtight container for 3-4 months! I actually like to keep mine in the freezer and pull them out individually when I’m craving something chocolatey! I also love these when they’re really cold (but my husband loves them after 15s in the microwave!)
Looked good in the pics, so far it’s been cooking for almost an hour and still doesn’t look like it’s close to being done. I’m deleting this recipe and never making it again. Waste of time and money 👎🏽👎🏽👎🏽
Sorry you feel that way! Every oven is different and these are meant to be gooey and fudgey so they aren’t supposed to get very firm. Thanks for trying!